Key takeaways
- One adjustable clamp-on task lamp at desk height.
- One smart bulb in a floor or shelf lamp behind you, dimmed to roughly 30-40% brightness.
- One bias-lighting LED strip on the back of the monitor, synced roughly to daylight white.
Most home offices have exactly one light source: an overhead fixture, or worse, just the glow from the monitor. That’s why eyes get tired by 3pm. Professional lighting setups — on film sets, in studios, in well-designed offices — use three distinct layers of light. Here’s how to build the same thing at a desk.
Layer 1: Task lighting
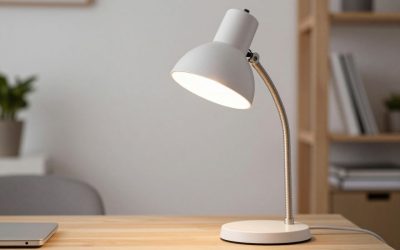
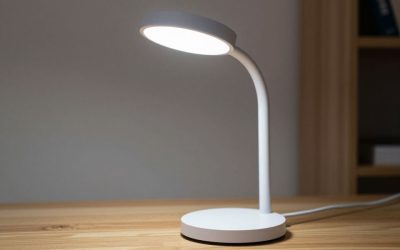
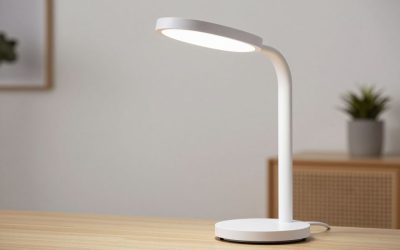
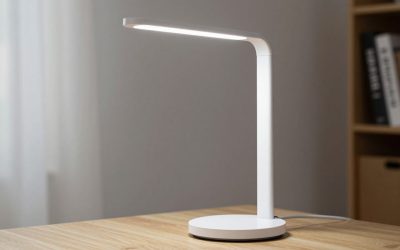
Task lighting is focused light aimed at what you’re actively doing — reading paper documents, writing, or anything that needs direct illumination. A clamp-on desk lamp with an adjustable arm is the classic solution because you can aim it exactly where you need it without lighting up your whole face for video calls. A model like the Lepro Metal Architect Lamp covers this well at a reasonable price, with enough brightness and color-temperature range to work for focused daytime tasks and a softer evening mode on the same fixture.
Layer 2: Ambient lighting
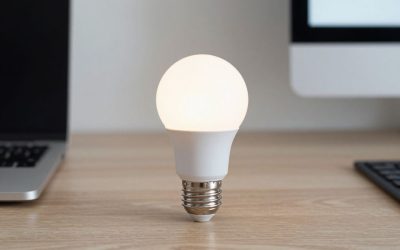
Ambient light fills the room so there isn’t a harsh contrast between your lit desk and a dark background — which is both uncomfortable for your eyes and unflattering on video calls. A smart WiFi bulb like the TP-Link Kasa KL130 in a nearby lamp or overhead fixture, set to a soft warm-to-neutral color temperature (around 3000-4000K), does this job without needing new wiring. The goal isn’t brightness — it’s evening out the light level across the whole room so your eyes aren’t constantly readjusting.
Layer 3: Bias lighting
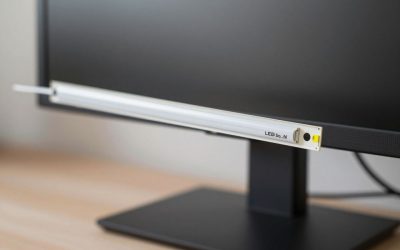
Bias lighting is light placed directly behind your monitor, facing the wall rather than your eyes. It reduces the contrast between a bright screen and a dark wall behind it, which is one of the most underrated fixes for eye strain during long sessions. A camera-synced kit like the Govee DreamView G1, set to roughly daylight white (6500K) when you don’t want it actively color-matching the screen, is the standard choice because it matches most monitor panels’ native white point, keeping on-screen colors looking accurate instead of tinted.
Layer 4: Video-call lighting
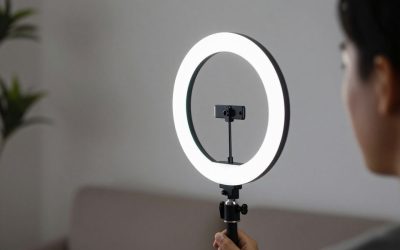
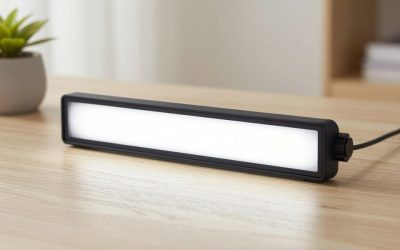
The three layers above light the room; none of them are specifically aimed at your face the way a camera needs. A dedicated light like the Logitech Litra Glow, clipped to the top of your monitor and angled slightly down and to one side, fills in the shadows a side-lit room leaves under your chin and eyes — the difference between looking lit by your desk setup and looking lit specifically for the camera is bigger than most people expect until they see it side by side on a call recording.
How to combine all four without overdoing it
- Start with ambient light on low — this is your baseline so the room never goes fully dark behind your screen.
- Add bias lighting behind the monitor at a brightness noticeably dimmer than the screen itself — it should reduce contrast, not become a second light source you notice directly.
- Bring in task lighting only when you need it — for notes, reading, or focused work away from the camera.
- Turn on video-call lighting specifically when you join a call, and turn it back off afterward — it’s the one layer that’s genuinely camera-specific rather than useful for general desk work.
Color temperature matching matters more than brightness
Mismatched color temperatures — a cool-white bias strip behind a warm-white ambient lamp — create a subtle but constant visual tension your brain has to compensate for. Keep all three layers within a similar range, or intentionally warm in the evening and cooler during the day if you’re using lighting to support your sleep schedule.
A simple starter setup
- One adjustable clamp-on task lamp at desk height.
- One smart bulb in a floor or shelf lamp behind you, dimmed to roughly 30-40% brightness.
- One bias-lighting LED strip on the back of the monitor, synced roughly to daylight white.
Common mistakes with layered desk lighting
- Mixing color temperatures carelessly: a warm 2700K lamp next to a cool 6500K bias strip creates a visual tension your eyes keep trying to resolve — pick a consistent range across all layers unless you’re deliberately warming the room for evening work.
- Making the video-call light your only light source: a single bright light aimed at your face with nothing else on creates harsh, flat shadows on camera; it looks far better layered on top of ambient and bias light than used alone in a dark room.
- Overlighting the bias strip: bias lighting is meant to be noticeably dimmer than your screen’s brightness — set too high, it stops reducing contrast and starts adding its own glare to your peripheral vision.
FAQ
Do I need all four layers, or can I start with just one or two?
Start with ambient and task lighting if you’re building this up gradually — those two solve the most common complaint (eye strain from a single overhead light). Bias and video-call lighting are refinements worth adding once the basics are in place.
Will these lights make my home office look overly bright or clinical?
Not if the brightness levels follow the layering described above — ambient light stays low, bias light stays dimmer than the screen, and task/video lights are used only when actively needed rather than left on constantly at full brightness.
Can I control all these lights from one app or hub?
It depends on the brands you choose — sticking to one ecosystem (e.g., all Govee, or pairing Kasa and Govee through a shared voice assistant like Alexa) lets you group and schedule them together; mixing unrelated apps means controlling each layer separately.
None of this requires an electrician or a full room redesign — it’s a handful of inexpensive fixtures placed with intent instead of one overhead bulb doing all the work. The difference shows up less in how the room looks and more in how your eyes feel after a full day at the desk.
FAQ
Do I need all four layers, or can I start with just one or two?
Will these lights make my home office look overly bright or clinical?
Can I control all these lights from one app or hub?
More from Amazon
Programs that pair well with the guide above. Offers and eligibility are set by Amazon and may change.
Free shipping on eligible items, Prime Video and more. Eligible new members can start with a free trial.
Start a Prime free trialAudiobooks and podcasts to listen to on the go. Eligible new members can start with a free trial.
Try Audible freeAd-free music streaming. Eligible new subscribers can start with a free trial.
Try Music Unlimited freeA free business account with business pricing and bulk-buying tools for work, shop or home office.
Create a business accountAs an Amazon Associate we earn from qualifying purchases.

Write Your Review
No reviews yet. Be the first to share your experience!